
Restoring the TYPO3 backup
If the worst-case scenario actually occurs and your TYPO3 site is destroyed for whatever reason, you can restore a TYPO3 backup that you have created.
The more regularly the backup was created, the less data will be lost when restoring the TYPO3 backup. Often, it is the database that is defective rather than the files being destroyed, which is why I make database backups more frequently than file backups.

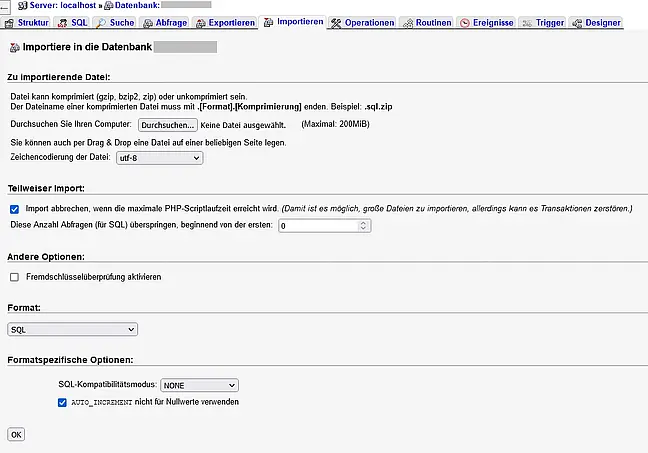

Restore the database
Open your website's database or create a new database.
A new database may have the advantage that your provider now stores newly created databases on a newer and often faster server. In addition, you do not have to delete any tables that may still be there.
The “Import” tab should be available in the top bar of phpMyAdmin. Here you can upload and import your database backup file.
Restore files
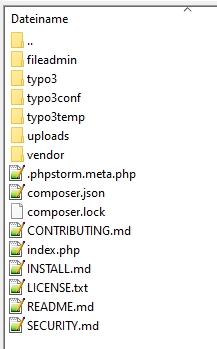
If you have saved your backup files in an archive (*.zip or similar), you should first unzip them on your computer. Then transfer all files to your website's web space. You can usually find out which folder they belong in in your provider's backend. Normally, you can assign a separate directory to each domain in your contract/account. If there are any files in this directory, I would first move them to a directory that cannot be accessed from outside. You can always delete them later.
If the directory to which the domain points is empty, you can transfer your backup files using an FTP program (e.g., Filezilla).
Depending on the connection and the number/size of the files, this may take some time. That's why I often transfer the “typo3conf” directory first, because if you have created a completely new database, you will need to set up the connection to it.
Connecting the database to the TYPO3 system
The connection to the database is specified centrally in the file typo3conf/LocalConfiguration.php, or from TYPO3 12 onwards in the file typo3conf/system/settings.php. To do this, enter the following data in the “DB” section:
'DB' => [
'Connections' => [
'Default' => [
'charset' => 'utf8',
'dbname' => 'DATABASE-NAME',
'driver' => 'mysqli',
'driverOptions' => [
'flags' => 32,
],
'host' => 'DATABASE-HOST',
'password' => 'DATABASE-PASSWORT',
'port' => 3306,
'user' => 'DATABASE-USERNAME',
],
],
],
You should find the values to be entered in your created database.
Transfer TYPO3 sources
You can find the latest TYPO3 versions on the typo3.org website. If your system is no longer up to date, you can also find older TYPO3 versions here. If you cannot create symlinks with your provider, you should use the zip version and upload everything under “typo3_src-<the TYPO3 version>/*” to the directory where your fileadmin/, typo3conf/, and uploads/ directories are located.
Check system (Install Tool)
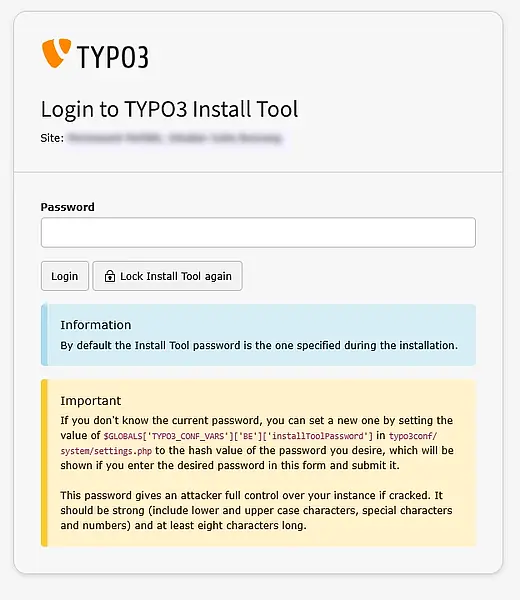
Before you log in to the backend or access the frontend, you should check to make sure you've configured all the necessary settings. The best way to do this is to use the Install Tool. To do so, create a file named "ENABLE_INSTALL_TOOL" in the typo3conf/ directory. The file can be empty; it just needs to be there. If you now append "/typo3/install.php" to your domain (up to TYPO3 9, "/typo3/install/" also works), the login page for the installation tool should appear.
Check system (Install Tool)
In the Install Tool, I check
- Environment/Environment Overview:
Is the correct PHP version configured?
However, we wouldn’t even get this far if it weren’t correct.
Is the correct database specified? - Environment/Directory Status:
Are all directories and files present? - Environment/Image Processing:
If the paths "[GFX][processor_path]" and "[GFX][processor_path_lzw]" are incorrect, errors will be displayed here. - Upgrade/Upgrade Wizard:
Here, the "Progress of upgrade wizards" should be at 100%…
If everything looks good, I go to "Maintenance" and select "Rebuild PHP Autoload Information," then I clear the entire cache using "Flush TYPO3 and PHP Cache," and finally, I re-upload the language files under "Manage Language Packs."

If you no longer have the Install Tool password
The password for this is stored in encrypted form in the file typo3conf/system/settings.php or typo3conf/LocalConfiguration.php (older versions) under:
<?php
return [
'BE' => [
...
'installToolPassword' => 'The encrypted Installtool password',
...
],
If you enter any password in the login screen now, TYPO3 will let you know if it's incorrect. However, you can enter the "Calculated hash" in place of the existing one under "installToolPassword." From now on, you can log in using the newly assigned password.
Check TYPO3 (backend)
Now you can refill the tables in the backend that were not exported when the database was exported.
- sys_refindex:
Under “System/DB Check,” there is an option called “Check and Update Global Reference Index.” There, you can select “Update Reference Index.” - Extension list:
In the “Administration Tools” section under “Extensions,” the button for updating the list of extensions is located under “Add Extensions” on the right-hand side: Clicking “Update Now” loads the table from the repository and saves it to your database.