Installing WordPress on a server requires only a few steps. Here I describe all the steps that will lead to your first WordPress installation.
Install WordPress: Setting Up the Prerequisites
To make your WordPress installation accessible online, you first need a domain name, as this is the address where your WordPress blog will be hosted. This domain name is registered with a provider such as 1&1/IONOS, Strato, Mittwald, Hetzner, or ALL-INKL, to name just a few examples. By the way, at ALL‑INKL, you can get hosting starting at just €4.95/month with the All-inkl Privat plan.
Connect a domain to web hosting
To ensure the server knows where to find your domain, you should tell the server which directory your website is located in. I generally do not place it in the root directory (which is the top-level directory on your server). This way, you always have the option of storing data on the server that cannot be accessed from outside. This can be used, for example, for an archive, backups, or the development version of a website.
Set up an SSL certificate
In particular, the SSL certificate is required to access your site at ‘https://….’
Before 2014, SSL certificates were used only for online stores or contact forms and were usually quite expensive. Since Google began ranking websites that run entirely on HTTPS higher, almost all providers now offer at least one free SSL certificate per contract (e.g., Strato or IONOS); if your provider also uses Let’s Encrypt, this is available at no additional cost for every domain.
Since an SSL certificate is always associated with a domain, the settings can usually be found near the domain settings on almost all providers.
Create a WordPress database
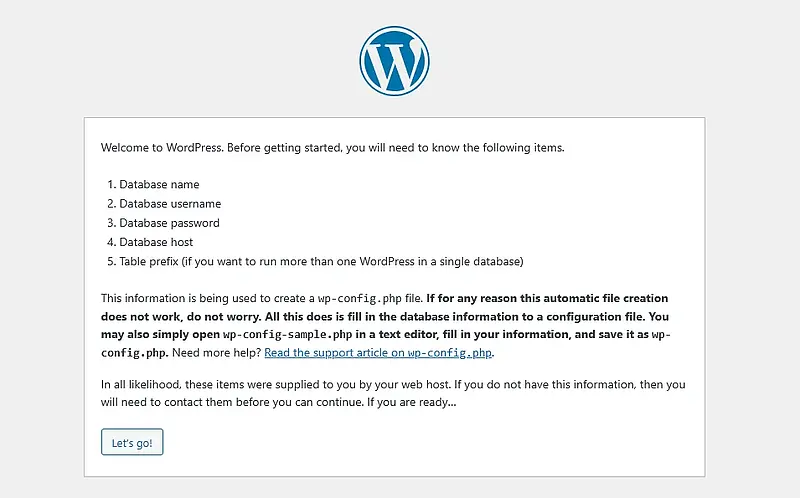
Once that’s done, create a new database. This database will store not only your WordPress posts but also settings and user data. How you create a database depends primarily on your hosting provider’s system. You generally don’t need to make any changes to the database itself, as WordPress handles that for you. However, you must make a note of the following login credentials:
- host (e.g., "localhost"),
- database name,
- database user, and
- the database password.
For example, the latest version of WordPress can be found here. There, you can download a ZIP file, which is usually named "wordpress-<current version number>-de_DE.zip":
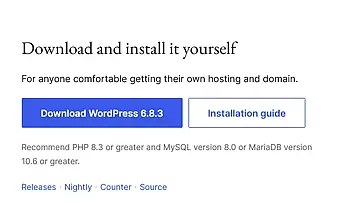
Upload all these files to your hosting provider using an FTP program, such as Filezilla, into the directory where your website is located.
If you unzip the package on the server, it will also be located there under ...wordpress... You must then move the files and directories up one level and delete the now-empty wordpress directory.
Start the WordPress installation
Now open the website / URL.

The Wordpress installation is now complete
The installation of Wordpress is now complete and you can view the page. There is already standard content stored that you will certainly want to change. You will probably also want to use a different theme and install and set up one or two plugins.
Quick WordPress Installation in 5 Steps with All-Inkl
With many hosting providers, WordPress can be installed in just a few simple steps. This is also the case with All-Inkl and Hetzner.
On All-Inkl, you’ll find the WordPress installation under “Software Installation.” Simply click the “Install Software” button below the WordPress logo.
- You have already selected the WordPress installation
- What address (domain) should the website be accessible at later on?
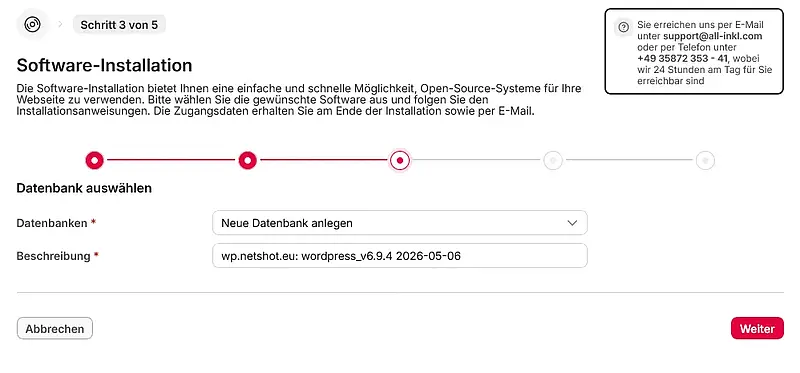
- Select a database or create a new one.
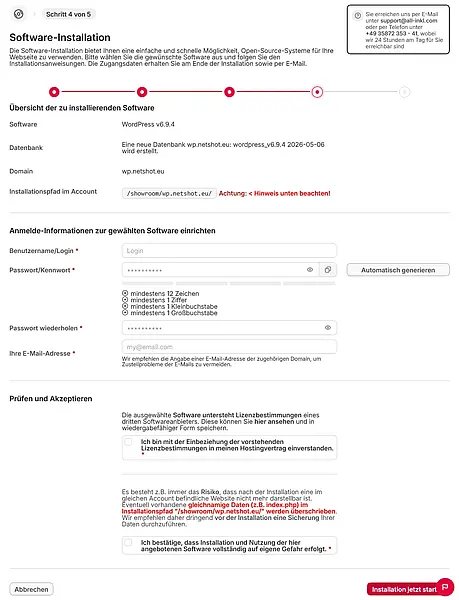
- Set up the user for the site and agree to the terms of use
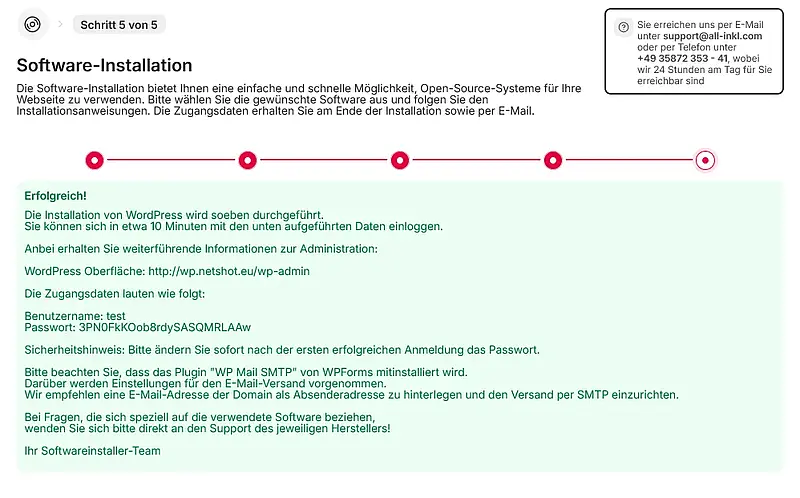
- Your WordPress installation is complete and will be online in a few minutes